

Contents
Component questionnaire builder
Deleting Tags in Dataflows and Risk Pattern
Objects include assets, components and trust zones as three separate drop downs. We also explore the use of Tags at the end of this section.
If you navigate here, you will see a very long list of existing component groups, for various uses and technologies. These are grouped for example by ‘Alibaba Cloud’ which you can then expand to see each component associated to Alibaba:

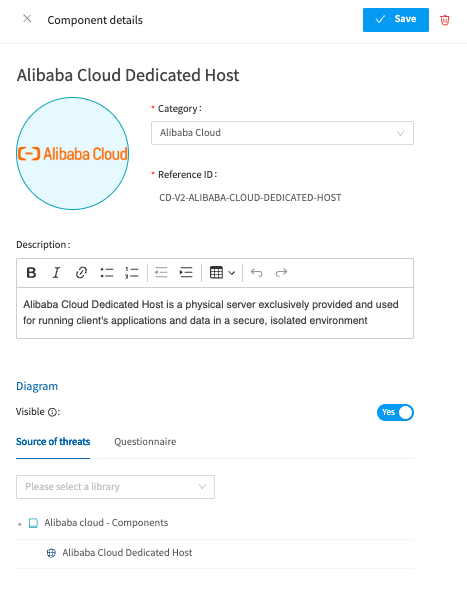
If you click on any of the components, you see a ta;.ope so you want to remove the option to see use it. In addition, you can change the component image from here. As per the below example.
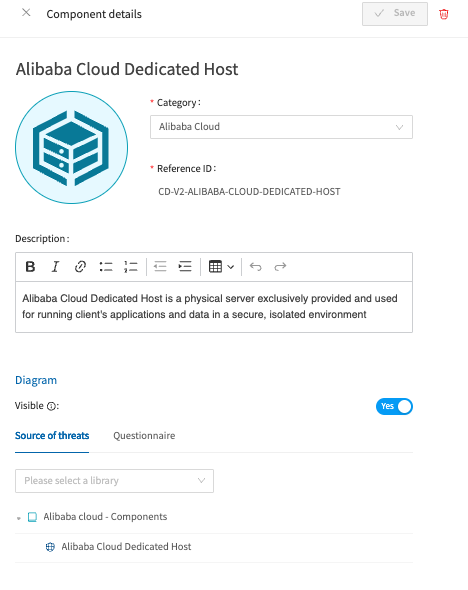
In addition, you can change the component image from here, hover over the image and click the word Edit. Choose an image from your local files/machine and upload - as per the below example. If you change your mind, hover back over the image and select delete, or swap it for another image. Be sure to Save the changes before you exit this window.
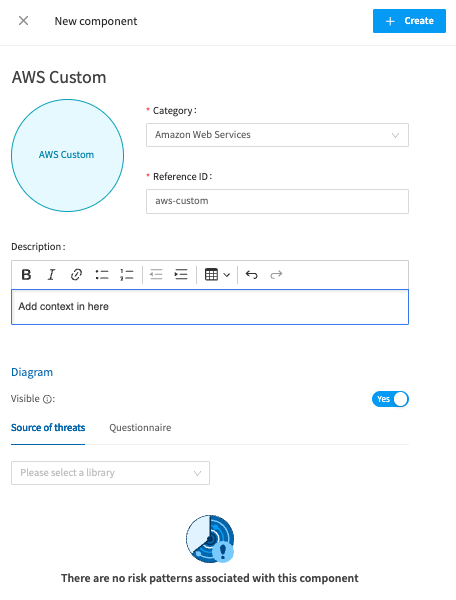
To create your own component, select the ‘New component’ button. Again you can choose an image if you wish, write the name, associate it to a Category of components such as AWS. Type in your description, and then at this point, you're able to add the source of threats by choosing from the Library drop down, and the same for the Risk patterns. Don’t forget to press ‘Create’.
Go to Objects, and then Components. Either create your custom component as above, or select a preexisting one. For this example we will choose the Alibaba Cloud Dedicated Host again. On the Component details tab you may have noted a tab at the end that says Questionnaire.
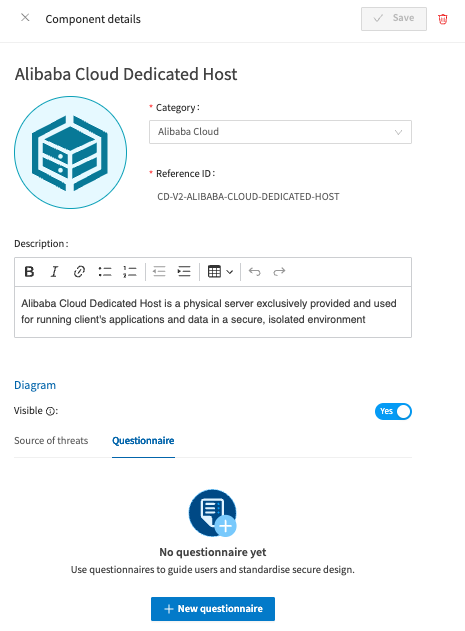
If you navigate here and choose the ‘New questionnaire’ button, you can begin to build out your questionnaire. The screen will be blank to begin with, like the below, until you start creating a new questionnaire associated with the chosen component. This works in the same way as the Model Questionnaire Builder, select the Plus sign or the ‘Create tab’ button to get started with building out your questions and potential answers.

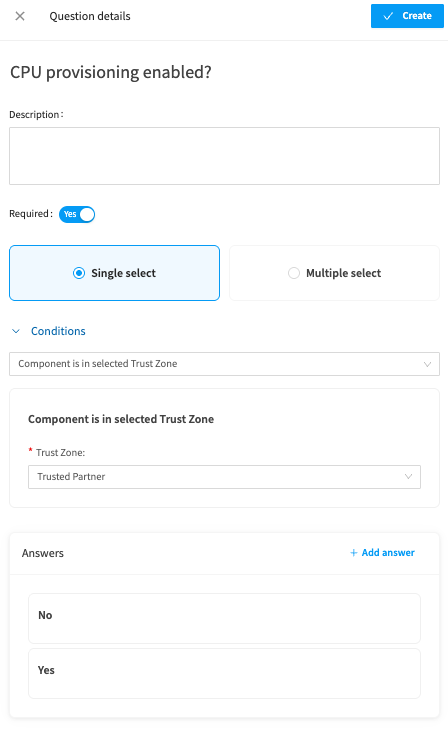
Write your first question, decide if it is Required to be answered or not (not all of your questions may be compulsory for example), Add any conditions, for example ‘The component is in a selected TRust Zone such as Trusted PArnter’. Include your answers, which may even be a ‘Yes/No’ option. Once finished, select ‘Create’.
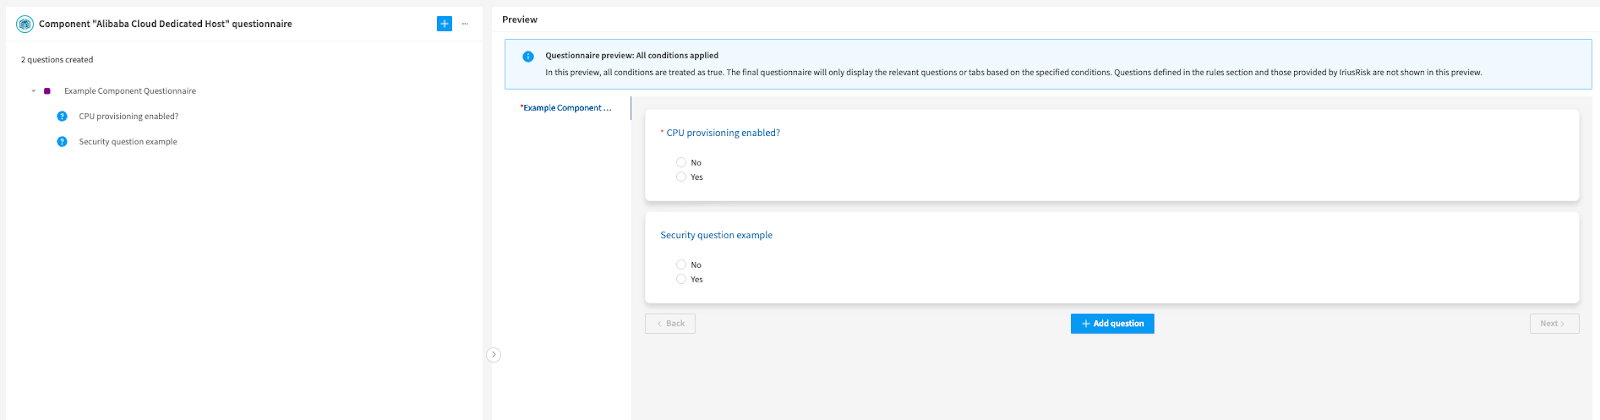
This will now be visible alongside any other questions you may have added. You have tabs on the left and a wider view of your questionnaire on the right:
In this section this is your assets relating to data such as customer information, credit card data and so on. You can add your own in the same way as components, by selecting ‘New’ and completing a couple of fields including selecting a Security Classification from the drop down.

You will then see the new Asset listed alongside the others with its own CIA score:

Users are also able to configure the visibility of Assets at a Business Unit level. This will allow for individual Assets to be restricted to the Business Units of users who need to see them, ensuring that sensitive items remain secure and improving user experience by allowing for more focussed user selection. By default all Assets will be visible.

There will be some predefined trust zones in here such as Internet, and Public cloud. Each has a risk rating based upon how ‘trusted’ these zones are. For example a private secured zone will have a very high trust rating, whereas the internet will be very low.

Creating a new trust zone is very straightforward. Select the ‘New’ button, and enter the name, reference, description and % of trust you want to apply to the new trust zone.

You can also configure the visibility of Trust Zones at a Business Unit level. This will allow for individual Trust Zones to be restricted to the Business Units of users who need to see them, ensuring that sensitive items remain secure and improving user experience by allowing for more focussed user selection. By default all trust zones will be visible.
Go to ‘Objects’ at the top of the screen (you will need to exit your threat model/ Project) in order to find this menu. Under ‘Objects’ select Trust ‘Zones’. Next, select the Trust Zone you wish to edit, and a model will come in like the below, simply toggle the blue ‘Yes’ button to ‘No’.

Once this has been toggled to ‘No’ you are able to select the Business Units of your choice from the drop down like so:

You may be using multiple tags across your projects and want to remove them. Deleting tags in dataflows and risk patterns is now possible via the API. Please note that deleting a tag will remove all instances of that tag across all projects.
